Looking for #1 Dumpster service near you?
in PA, NJ, MD, DE, VA, CT, and DC
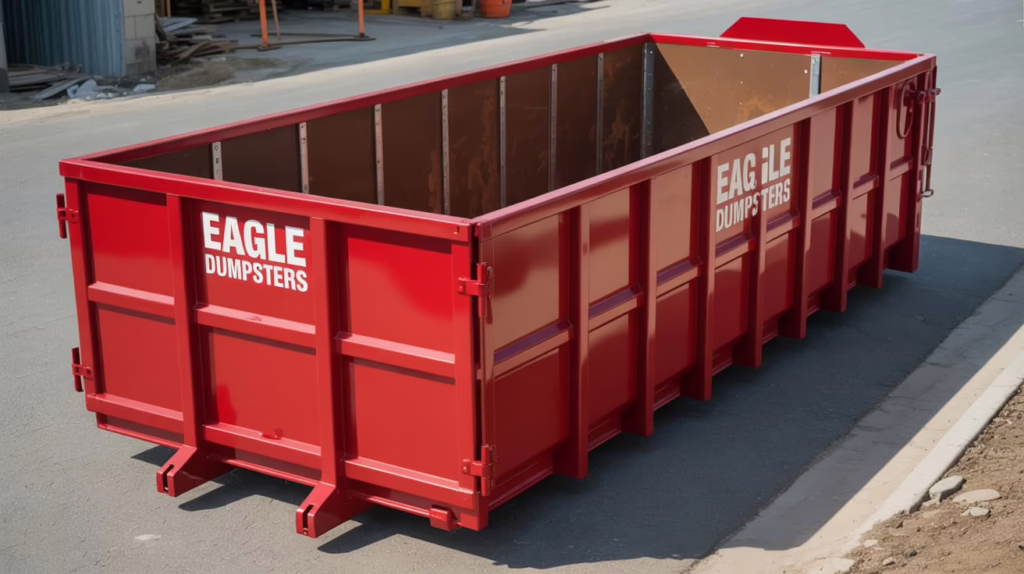
Available in 10, 12, 15, 20, 30, & 40 cubic yard sizes
★★★★★ 4.5 Rating
Highly Rated
Need a dumpster?
Enter your details below for an instant quote
-
Six Simple Ways to Declutter
Decluttering your home can make it a much nicer space, clear up the messes you have left behind, and generally make it an easier space to use. However, knowing how to declutter is important since there is not a single exact method that works best for every individual space. Here are six ways to make…
/
-
Remodeling Your Kitchen: Simplified
Trying to remodel a kitchen can be a pain, but it often sounds worse than it actually is. Many people forget that some of the basic steps can be deceptively simple and that there can be easier alternatives that they might not have considered – especially with a professional company involved. Here is an easy…
/
-
When to Replace Your Subfloor
Subfloors are extremely important, but they can also be easily damaged under the wrong circumstances. Not only can this cause major durability problems, but it might require an entire subfloor replacement – which can be a costly and time-consuming process. While it is easy to get your subfloor repaired or replaced by a professional company,…
/
-
Finding Reclaimed Wood
Reclaimed wood can be a great opportunity to do something creative with your home, whether it is making your own specialized decorations or adding some flair to a room with a little reclaimed wood trim. Not only does it look great, but it means that you are not unnecessarily buying freshly-cut tree wood. However, you…
/
-
8 Kid-Friendly Basement Ideas For All Ages
If the thought of having the kids home all summer long is filling you with dread, you are not alone. Kids can become restless quickly, and you will soon find yourself running out of space and ideas as the summer goes on. Renovating your basement could be the solution you have been looking for, as…
/
-
How To Redo A Flower Bed
A new flowerbed can transform your garden and become a wonderful focal point, but after months of cold temperatures and harsh weather, it is unlikely that your flower beds are having this kind of effect. If you are dealing with unkempt and dying flower beds, it is possible to redo them. We have a delivery…
/
-
How To Prepare Your Home For a Hurricane
Living by the coast means that you will experience hurricane season regularly. While this season comes around every six months or so, it is important to get yourself well prepared ahead of time. There are several things you should do to prepare your home for hurricane season, and in this guide, we are sharing the…
/
-
How To Tile Your Bathroom
If you are bored with your bathroom or feel like it is looking outdated, you can easily redecorate the space using bathroom tiles. Instead of paying for a complete renovation, changing the bathroom’s appearance using tiles can make such a difference to this space and is something you can do yourself. In this guide, we…
/
-
When Should You Replace Your Driveway?
Likely, you do not spend a lot of time thinking about your driveway until something goes wrong. As soon as you notice cracks, potholes, and general wear and tear, you will not be able to stop thinking about your driveway and how to repair it. There are many causes of driveway damage, and it will…
/
-
How To Get Rid of Old Tires
It can be difficult to get rid of old tires because many waste management services will not accept them. Tires are usually rejected from curbside pickup because of their shape and the fact they hold a lot of air. Holding a lot of air makes tires difficult to get rid of because it means they…
/
-
Should You Build an In-Law Suite?
In-law suites are a great addition to any home, providing a new living space for parents, guests, or anybody else that needs to stay – either in the short or long term. However, it can also take some time to plan everything out, so you want to consider things carefully before rushing in without a…
/
-
4 Quick Tips for Creating a Green and Sustainable Garden
A green garden is a happy garden, but aiming for something sustainable can help the entire planet keep its green glint. Gardening can often do a lot of damage to the environment if you are not very careful with what you are doing, and anything to counteract that can really help. Here are four quick…
/
-
How To Remove A Tile Floor: A Step By Step Guide
There are various reasons why you may need to remove a tile floor at home, whether you are doing larger repairs or simply want a change of scenery. Whatever the reason may be, it is a good idea to learn how to properly remove tile floors, so you do not cause any damage to your…
/
-
How To Organize The Junk Drawer In 25 Minutes or Less
No matter how clean a home appears on the surface, there is most likely a junk drawer somewhere that is never organized. Every home has one, but that does not mean you have to keep a junk drawer if it is causing you stress. Learning how to organize a junk drawer is part life skill…
/
-
How To Build A Home Compost Bin
Compost is known as ‘black gold’ because it can be a lucrative fertilizer for your garden. If you want to take better care of your outdoor plants and flowers while also tackling food waste from within the home, then a compost bin is something you need. However, a compost heap is not exactly an attractive…
/
-
Preparing to Move House
Moving house can be exceptionally stressful; there are so many things to consider, arrange, and do to execute a move well. To make this process less stressful, you can make a step-by-step list of what you need to achieve and how to do this. Including timelines and time limits on your to-do list is an…
/
-
E-Waste and Where it Goes
Have you ever wondered what will happen to your devices when they eventually break down? The short answer to this is that there are two things that could happen. The first is that they can be recycled, or they can go to a landfill. A landfill is a concerning option as the pollutants emitted by…
/
-
Maximize Your Home to Sell
When selling your home, it is important to put your best foot forward. Staging your property in the best way possible will maximize the amount your house will sell for. It is proven that staging your property in a way that allows potential buyers to see themselves living in the property will help it to…
/
-
How To Build A Raised Garden Bed
If you are looking for a way to grow more plants, flowers, or vegetables in your small garden, then you have come to the right place. A raised garden bed is a great way of making more space in your garden that can be used to plant anything you want. Whether in the hart of…
/
-
How To Remove Roof Shingles: A Step By Step Guide
To extend the life of your roof and protect your home from water damage, you need to periodically remove and replace roof shingles. While this is something all homeowners are aware of, we do not usually do it on time because it can be an expensive home maintenance task to complete. However, replacing shingles as…
/