Kitchen cabinets can be quite tough to get rid of once they are installed. Whether you want to take them down to paint a wall, plan to replace them with something else, or just want to be rid of them entirely, actually removing them can be tricky if you are not used to it.
Here are some things to keep in mind before you try to brute-force the cabinets down, especially raised cabinets that are built into the wall.
Attachment Types
Not all cabinets use the same system to attach them to surfaces. The two most notable are the prefabricated cabinets and the older unitized cabinets, but the differences between them make it important to figure out which is which.
Whether you’re in the heart of Apollo or in neighboring communities like North Apollo, Vandergrift, and North Vandergrift, you can depend on our hardworking, locally-based, family-run company to provide affordable rates on rental dumpsters of all shapes, sizes, and volumes.
Unitized cabinets are often nailed or glued into place, usually using the wall as the back of the cabinet instead of having their own distinct back. These are generally found in older homes that have kept all of the original kitchen furniture, but once you remove them, re-using them is tricky.
Prefabricated cabinets are more recent and generally have their own back, often screwed together so that they are a single unit. They will usually be attached to the wall by screws or some other binding method and can easily be re-used if you break them away from the surface.
Removing the Cabinet
The exact method of removing your cabinet will vary depending on what type you are dealing with. In general, you will want a hammer, a drill, at least one knife that can cut through putty or caulk, other utility knives, and possibly a crowbar or pry bar. Remember safety gear like goggles, too.
Check for any built-in lighting or other important appliances that might be part of the cabinet. You do not want to take it down and accidentally damage something important or break the cabinet entirely. Be sure to clean it out so that it is completely empty before you begin taking it down, too.
Take off the doors
Then, you just need to start removing the extremities first. Doors, shelves, any separate compartments that might be built into the design – remove all of them and set them aside with the screws that were originally in them. If you want to re-use them, you will need to keep all of these screws.
It might help to label things with sticky pads or tape if possible, too. Many cabinets are designed in specific ways that do not allow almost-identical parts to be used interchangeably, and that means that you are limited to keeping the exact same configuration. The same goes for internal shelves.
Removing the bond
Once you are sure you are prepared to start taking them down, choose the most ideal cabinet to start with and begin cutting away the bonding agent or caulk. It is important to cut this away first, even if the cabinet is screwed on since it will minimize damage and risk later.

If you do not want to save the molding, then you can always try to pry it apart by force. This might damage the wall as well, depending on the wall materials, so be prepared to cover it up with something if that happens. Cutting it takes longer but is much easier if you have a sharp knife.
Separating Cabinets
Remember that some cabinets might be connected together, especially newer units. You might have to unscrew cabinets from each other to get them off separately – even if you want them all down, trying to lift them down all at once can be very dangerous.
Older cabinets might not be like this, but make sure you check anyway. You do not want to realize once your cabinet is hanging off by one or two screws that you need to loosen this from inside another cabinet.
Remove it from the wall
Finally, you need to work on the wall itself. Look for the glue, screws, or whatever other mounting systems the cabinet is using and loosen them. Make sure to support the cabinet the entire time, and get ready to lift it away from the wall if it starts to fall down.
If you do not have an extra pair of hands to help out, then it can be tricky to handle this yourself but easy to manage once you get the hang of it. Do not let your cabinet fall since it might splinter or break and become unusable – or damage other things in the kitchen if you are not careful.
Disposal
With the cabinet removed, you need to decide if you are getting rid of the cabinet or keeping it. You might have some that came away cleaner than others, and some might be irreversibly damaged to the point that they are no longer usable as storage.
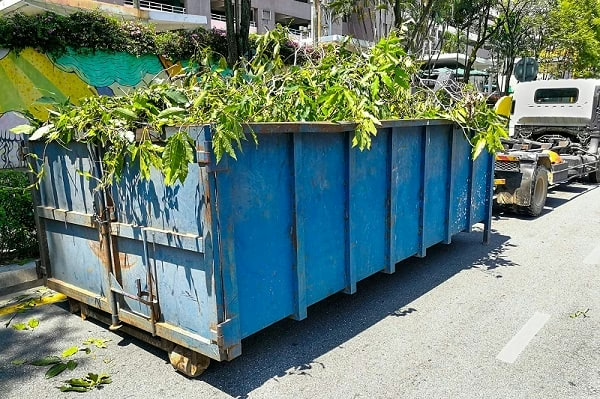
In this case, it is a good idea to get hold of a dumpster, like some of our excellent dumpster rental offerings. If you are doing large-scale kitchen renovations or furniture replacements, then a dumpster is invaluable for getting rid of furniture without having to carry it all in a car’s limited rear space.
Remember that some cabinets might fall apart when removed from the wall, especially if you took out all of the screws. Older cabinets may rely so heavily on old glue that you can’t put them back together anymore, even if you try gluing them again – so just get rid of them.
With your cabinets down, the hardest part of the process is done. Remember to check the wall and make sure that you did not accidentally damage the surface or leave any screws still in the wall.
